HostMidas offers a free website builder tool, SiteJet Builder, included in all hosting plans. This tool is designed for users who are new to website creation or do not have coding experience. It enables you to quickly create a landing page or a full website using customisable templates.
This article provides step-by-step instructions on how to use SiteJet Builder to create a website.
Step 1: Log into cPanel
You can access cPanel in two ways:
1. Through the HostMidas Client Area:
• Log into the HostMidas client area.
• Under Active Products, find your hosting plan and click Login to Control Panel.

2. Manual Login:
Alternatively, you can access cPanel directly by visiting:
https://yourdomain.nz/cpanel
Use your cPanel username and password to log in.
Step 2: Access SiteJet Builder from cPanel
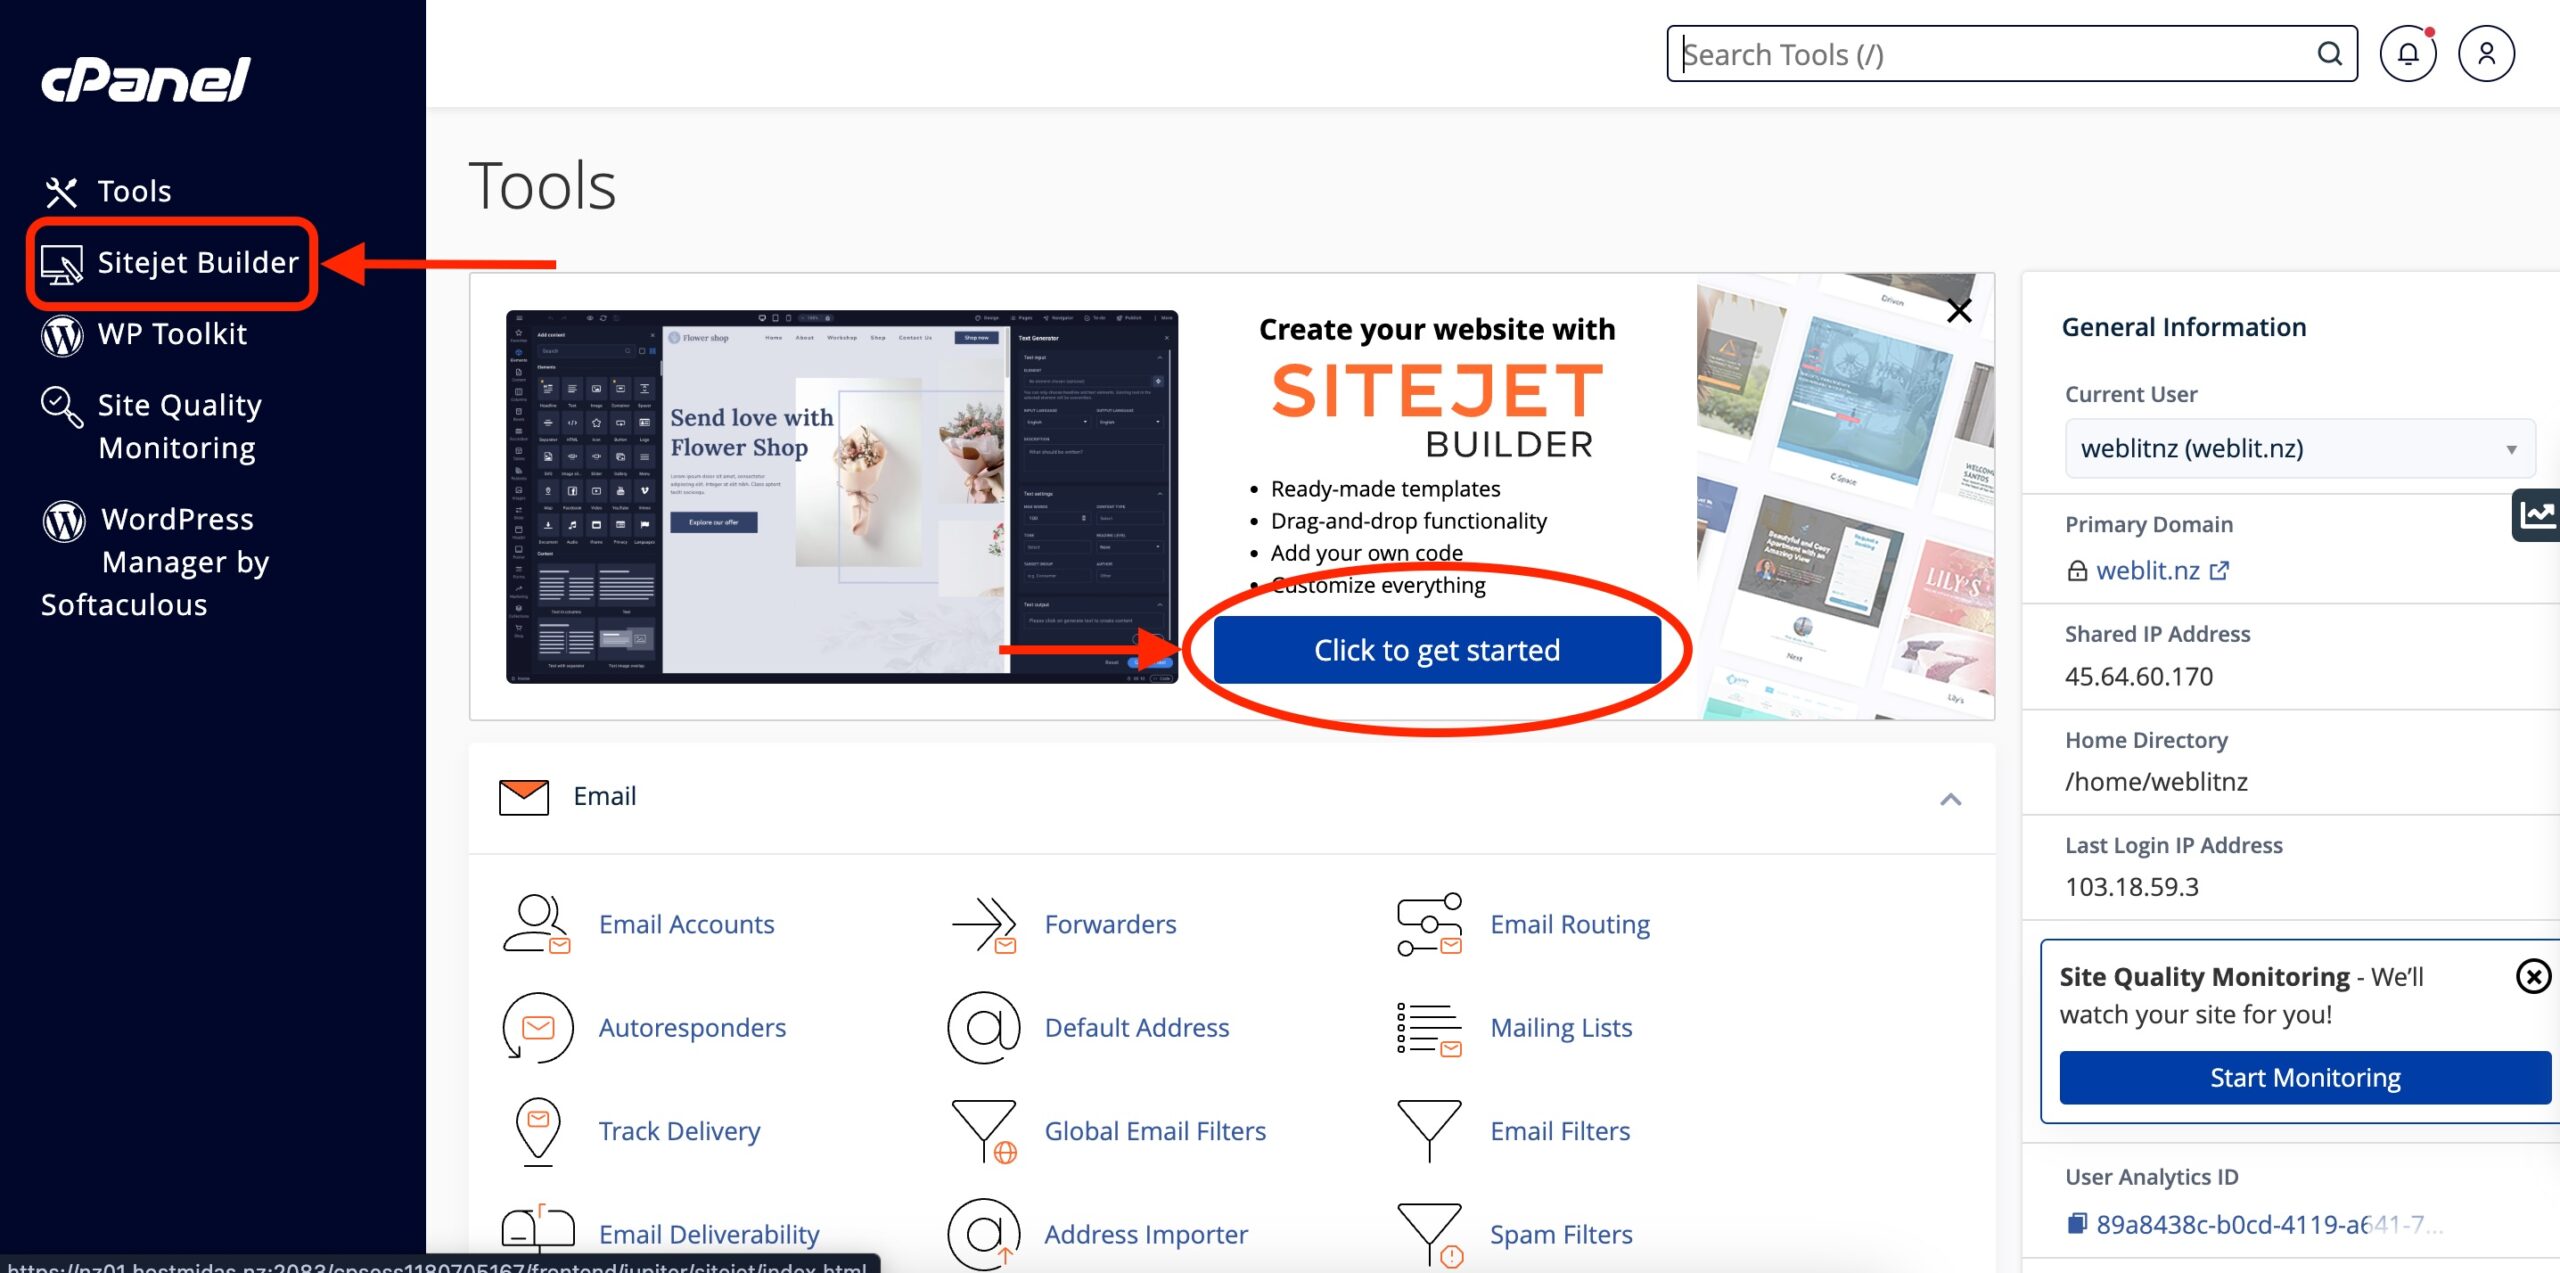
Once logged into cPanel, locate the SiteJet Builder in the sidebar under “Tools” and click on it. This will launch the SiteJet website builder interface.

Step 3: Select a Template
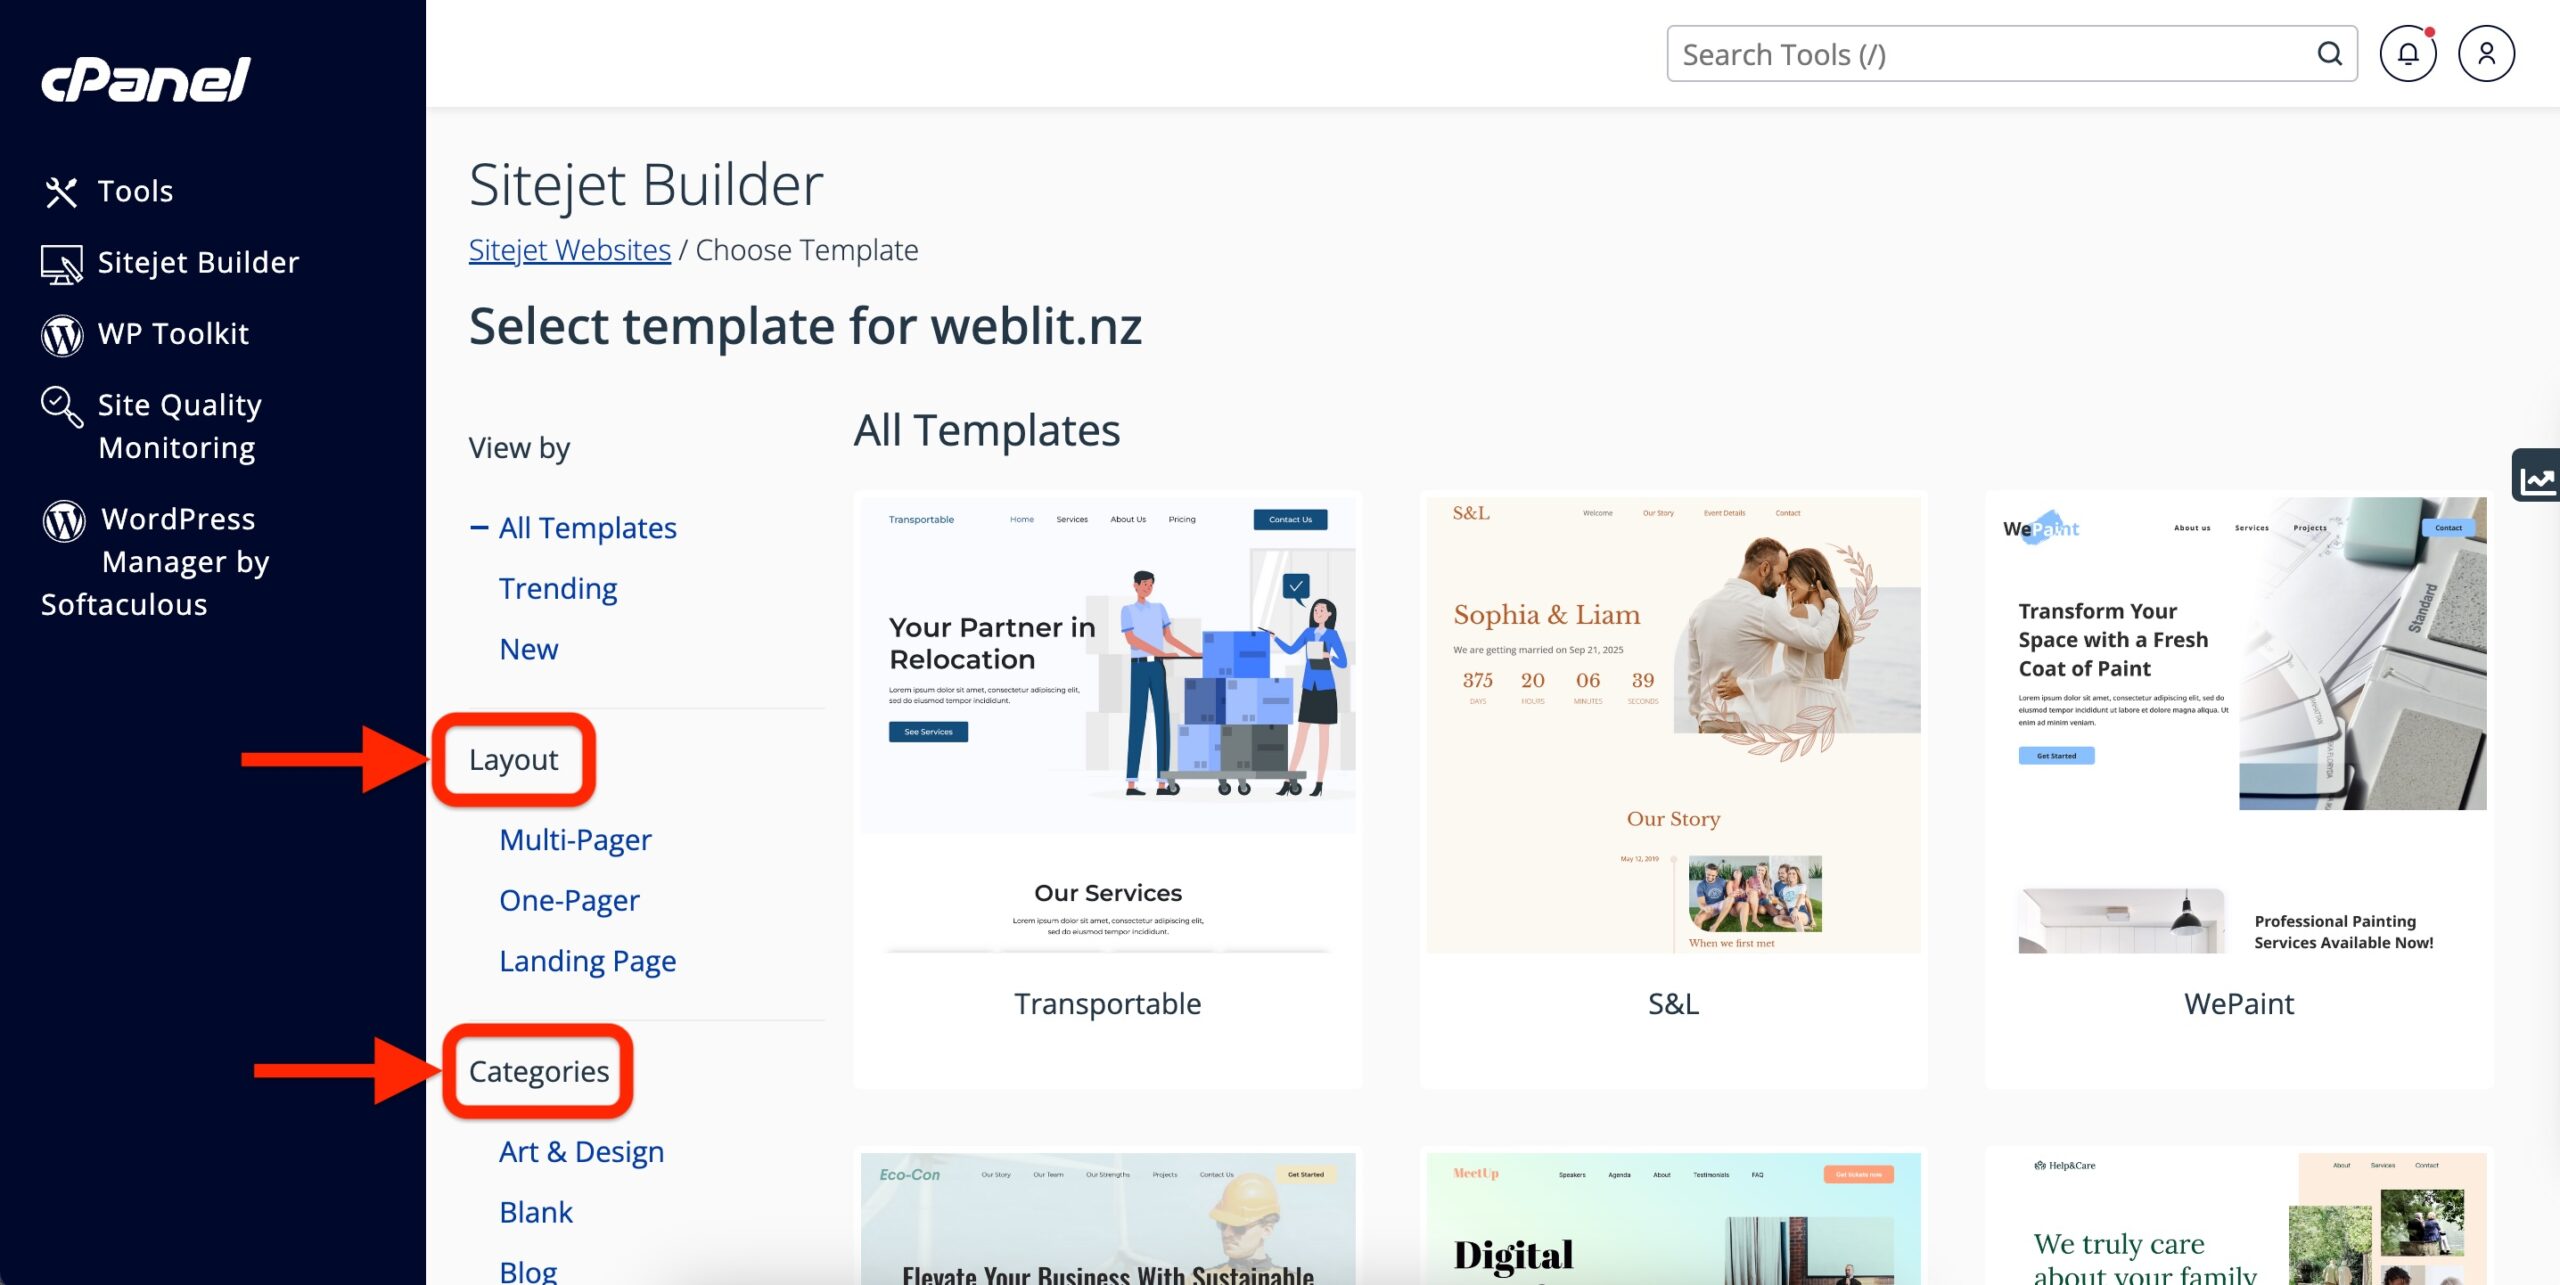
SiteJet Builder provides a wide variety of templates across different categories, including:
• Art & Design
• Business
• Hospitality
• Personal Blogs
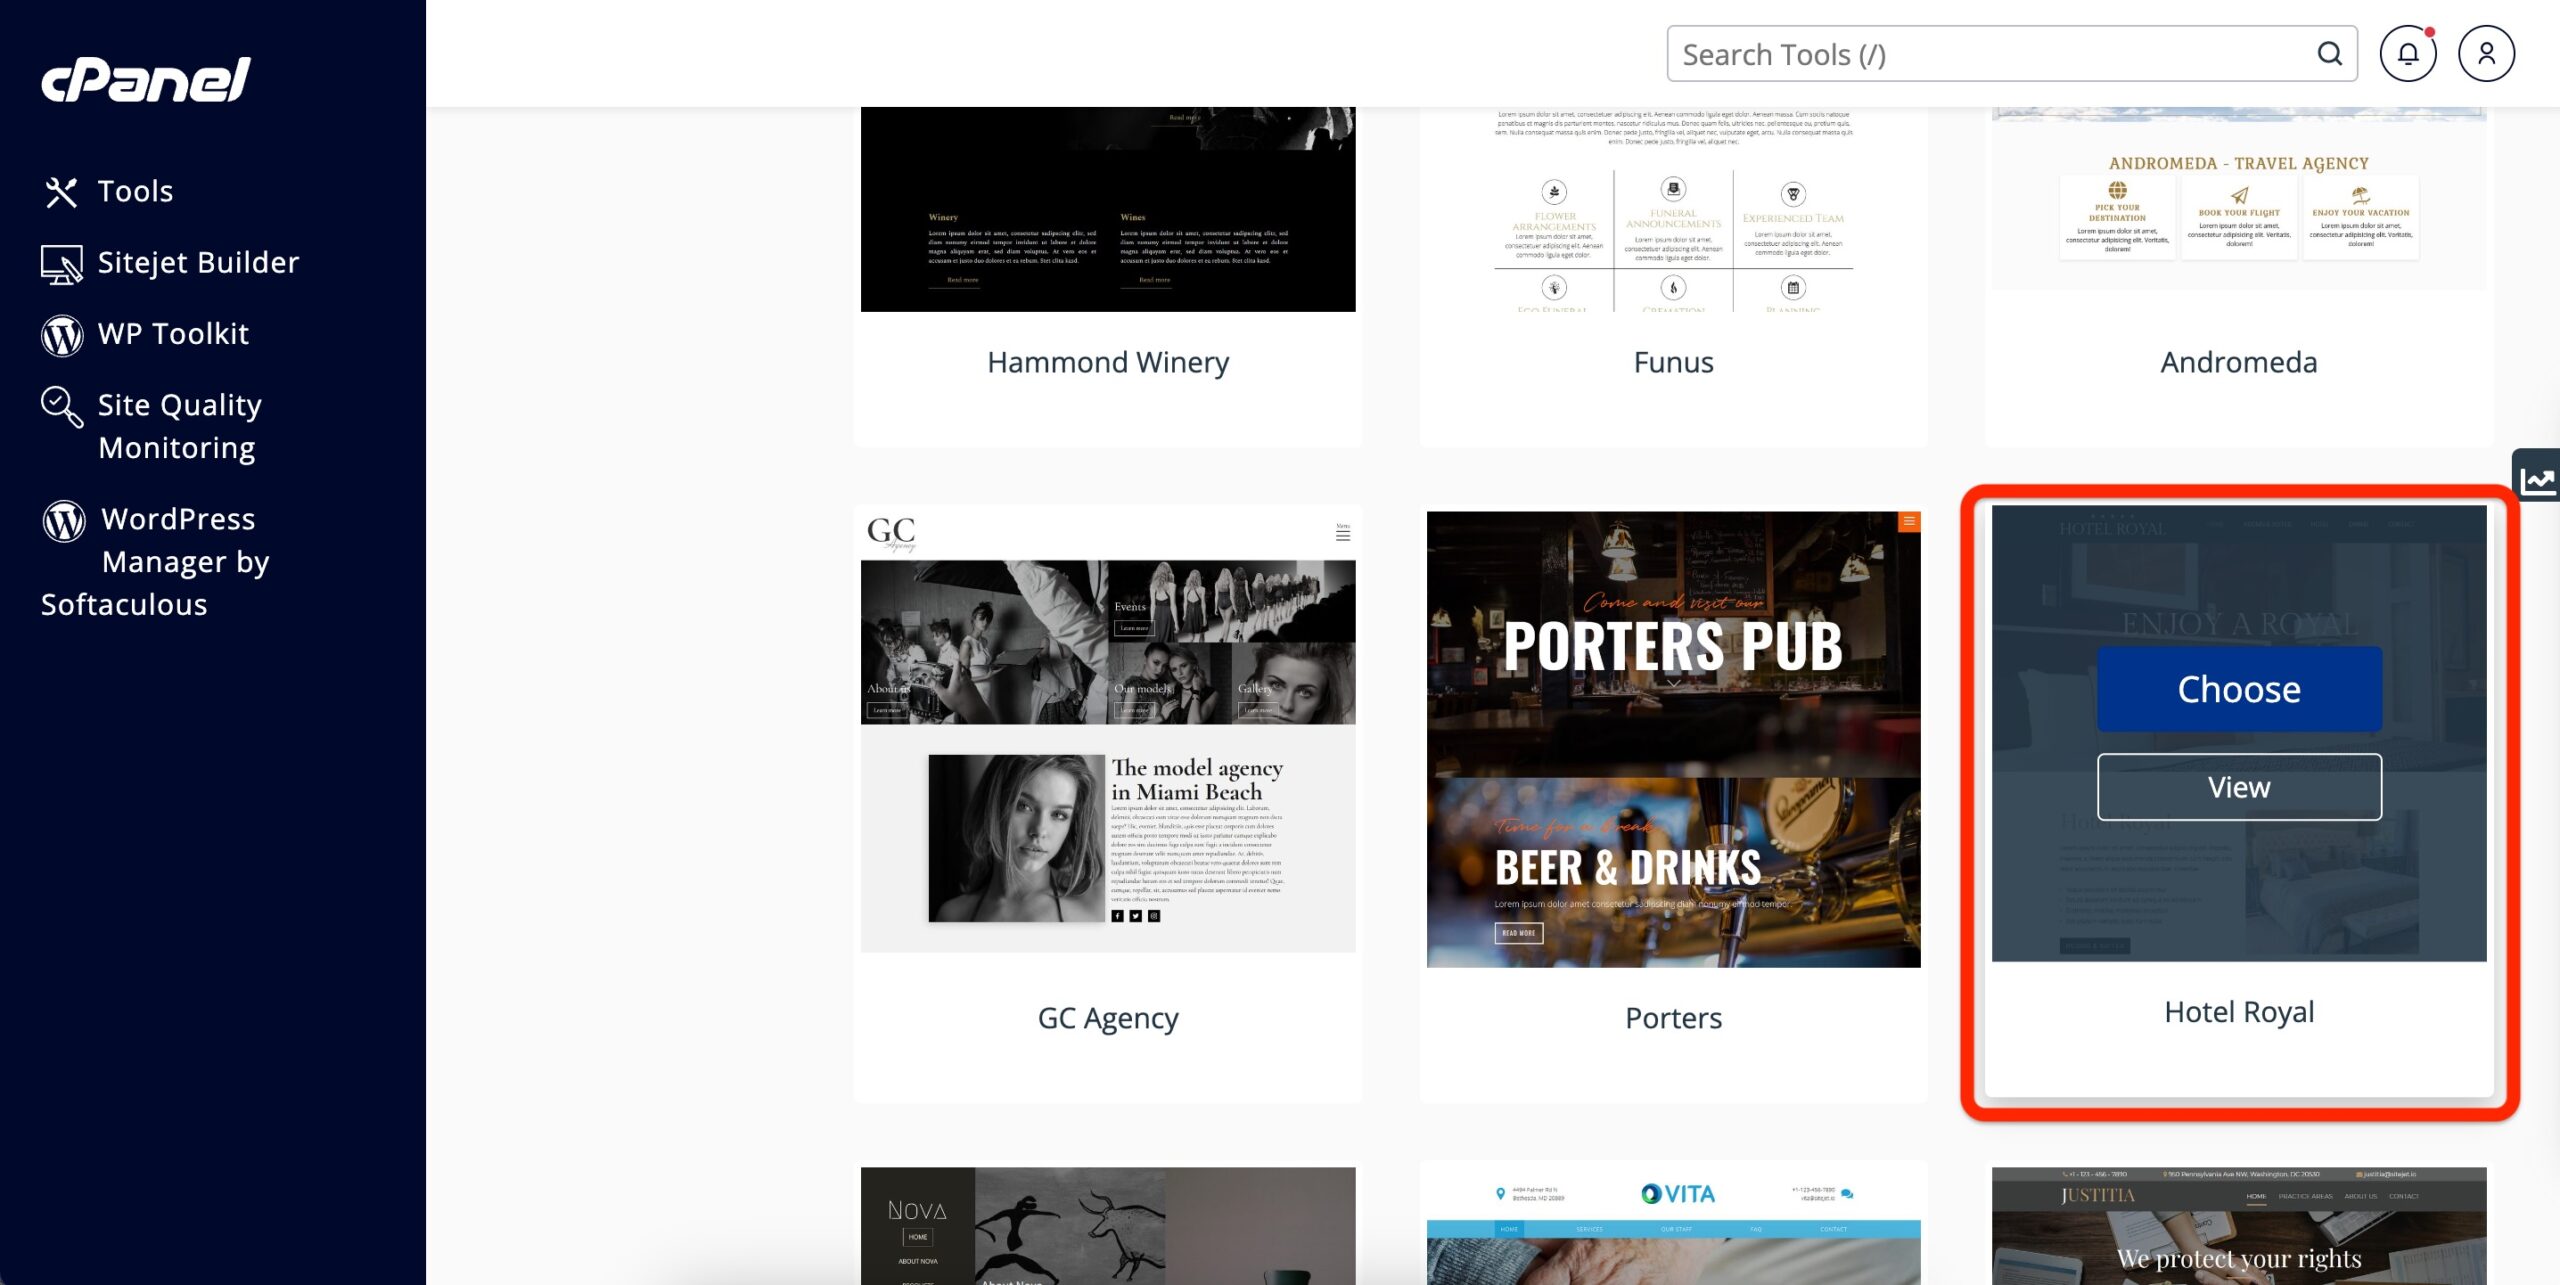
For this example, we will choose a hotel template from the Travel category. You can browse through the available templates or use the search feature to find one that suits your needs. Once you have selected a template, click Choose to proceed.


Step 4: Customise Your Website
After selecting your template, you will be taken to the SiteJet Builder editor, where you can customise the design and content.
• To edit text: Click on any text block, and type in your content.
• To update images: Click on the image placeholders to upload your own images.
• To modify the layout: Use the drag-and-drop interface to add new elements such as sliders, columns, or other design features from the Elements tab.
The editing interface is intuitive, allowing you to fully customize your site without needing to write any code.
Step 5: Preview Your Website
Before publishing, it is important to ensure your website displays correctly on all devices. SiteJet Builder allows you to preview your site in desktop, tablet, and mobile views.
Click the Preview button at the top of the editor to view your website across different screen sizes.
Step 6: Publish Your Website
Once you have finalised your website design, click the Publish button in the top-right corner of the SiteJet Builder interface (as highlighted in the screenshot below).

After publishing, your website will be live. You can always return to the SiteJet Builder to make additional changes or updates as needed.
Why Use SiteJet Builder?
SiteJet Builder is an ideal tool for users who are new to website creation or those who need a quick and easy way to get a website online. With a wide range of customisable templates and an intuitive drag-and-drop editor, you can launch a professional-looking site in no time. HostMidas includes this tool in all hosting plans to ensure you can get started immediately.
Need Help?
If you encounter any issues while setting up SiteJet Builder or need further assistance, feel free to contact HostMidas Support. We’re here to help!
Want to see what our customers are saying? Check out our Trustpilot reviews to learn why businesses choose HostMidas for reliable hosting services.
