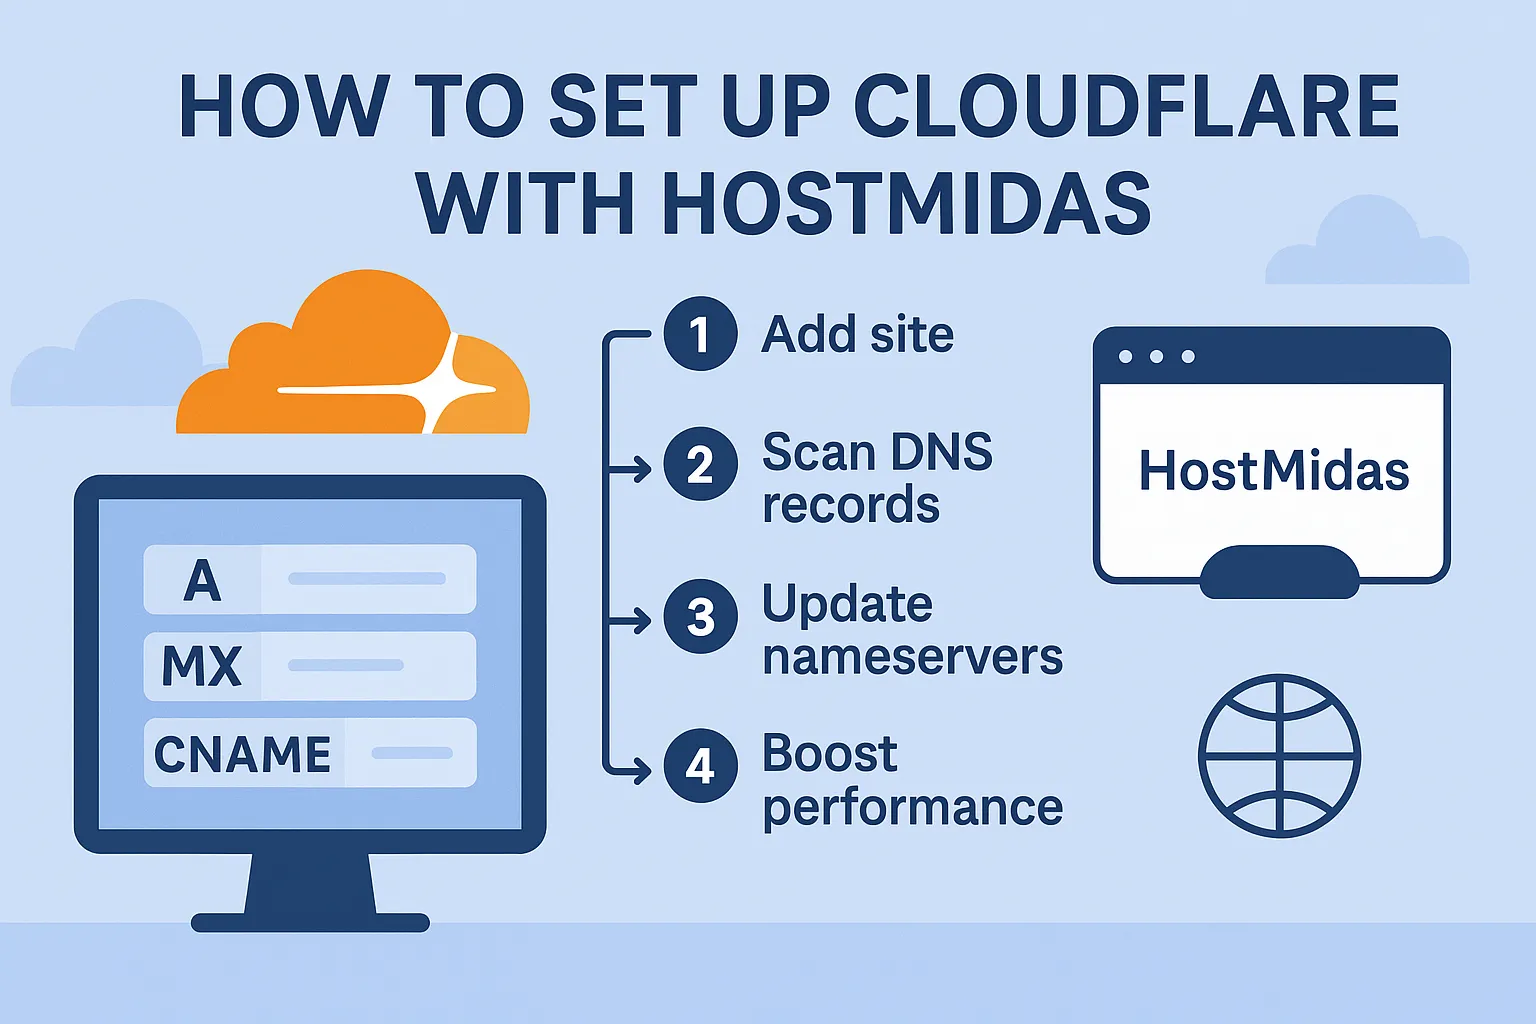
Setting up Cloudflare with HostMidas is a smart move for any website owner looking to improve performance, security, and DNS flexibility. Whether you’re using the free plan or considering an upgrade, Cloudflare offers powerful tools that integrate seamlessly with your hosting setup.
Why Use Cloudflare?
- Global CDN: Speeds up your site by caching content closer to visitors.
- Free SSL: Automatically provides HTTPS encryption.
- DDoS Protection: Shields your site from malicious traffic.
- DNS Management: Fast propagation and easy record control.

Getting Started with Cloudflare
Here’s how users can set up Cloudflare from scratch:
1. Create an Account Go to and sign up for a free account.
2. Add Your Domain Click “Add a Site” and enter your domain name (e.g. example.com).
3. Choose a Plan Select the Free plan unless you need advanced features like WAF or image optimization.
4. Review DNS Records Cloudflare will scan and import existing records. Review them carefully and adjust if needed.
5. Update Nameservers Cloudflare will provide two nameservers. Log into your domain registrar and replace your current nameservers with Cloudflare’s.
6. Wait for Propagation DNS changes can take up to 24 hours, but usually resolve within minutes.
7. Configure SSL & Performance Settings
-
- Set SSL mode to Full (Strict) if SSL is installed on your HostMidas server.
- Enable caching, minification, and other performance features as needed.
Setup Scenarios
✅ When You Add a Domain to Cloudflare
Cloudflare will automatically scan and import existing DNS records, regardless of where the domain is currently pointed. This means:
- If your domain is already pointed to HostMidas, Cloudflare will likely pull in accurate A, MX, and CNAME records.
- If it’s pointed elsewhere, Cloudflare will still attempt to import records — but you should double-check them manually to ensure they match your HostMidas configuration.
Manual DNS Setup
If Cloudflare doesn’t import the correct records, or if you’re starting fresh:
1. Log into your HostMidas cPanel.
2. Open the Zone Editor.
3. Copy the necessary records:
-
- A record (typically your server IP)
- MX records (for email)
- CNAMEs, TXT, and SPF records as needed
4. Paste them into your Cloudflare DNS dashboard.
⚠️ Tips & Common Pitfalls
- If your HostMidas server has an SSL certificate installed, set Cloudflare’s SSL mode to Full (Strict).
- Always verify MX records to avoid email disruptions.
- Use Page Rules for redirects or caching exceptions.
Free vs Paid Cloudflare Plans
The free plan is more than enough for most small to medium sites. It includes:
- CDN
- SSL
- Basic security
- DNS management
Paid plans offer:
- Advanced caching
- Web Application Firewall (WAF)
- Image optimization
- Bot protection
- Detailed analytics
If you’re running an eCommerce site or handling sensitive data, upgrading may be worth it.
Final Thoughts
Cloudflare is a powerful ally for HostMidas customers. Whether you’re looking to speed up your site, secure it, or simplify DNS management, this setup guide gets you started with confidence.
Need help?
If you encounter have any questions about Cloudflare DNS or need further assistance, feel free to contact HostMidas Support. We’re here to help!
Want to see what our customers are saying? Check out our Trustpilot reviews to learn why businesses choose HostMidas for reliable hosting services.
